A Stripped Screw, a Frozen Pad, and 7+ Hours — My Laptop Thermal Repaste Saga
A stripped screw held my entire laptop repaste hostage. That turned out to be the easy part.
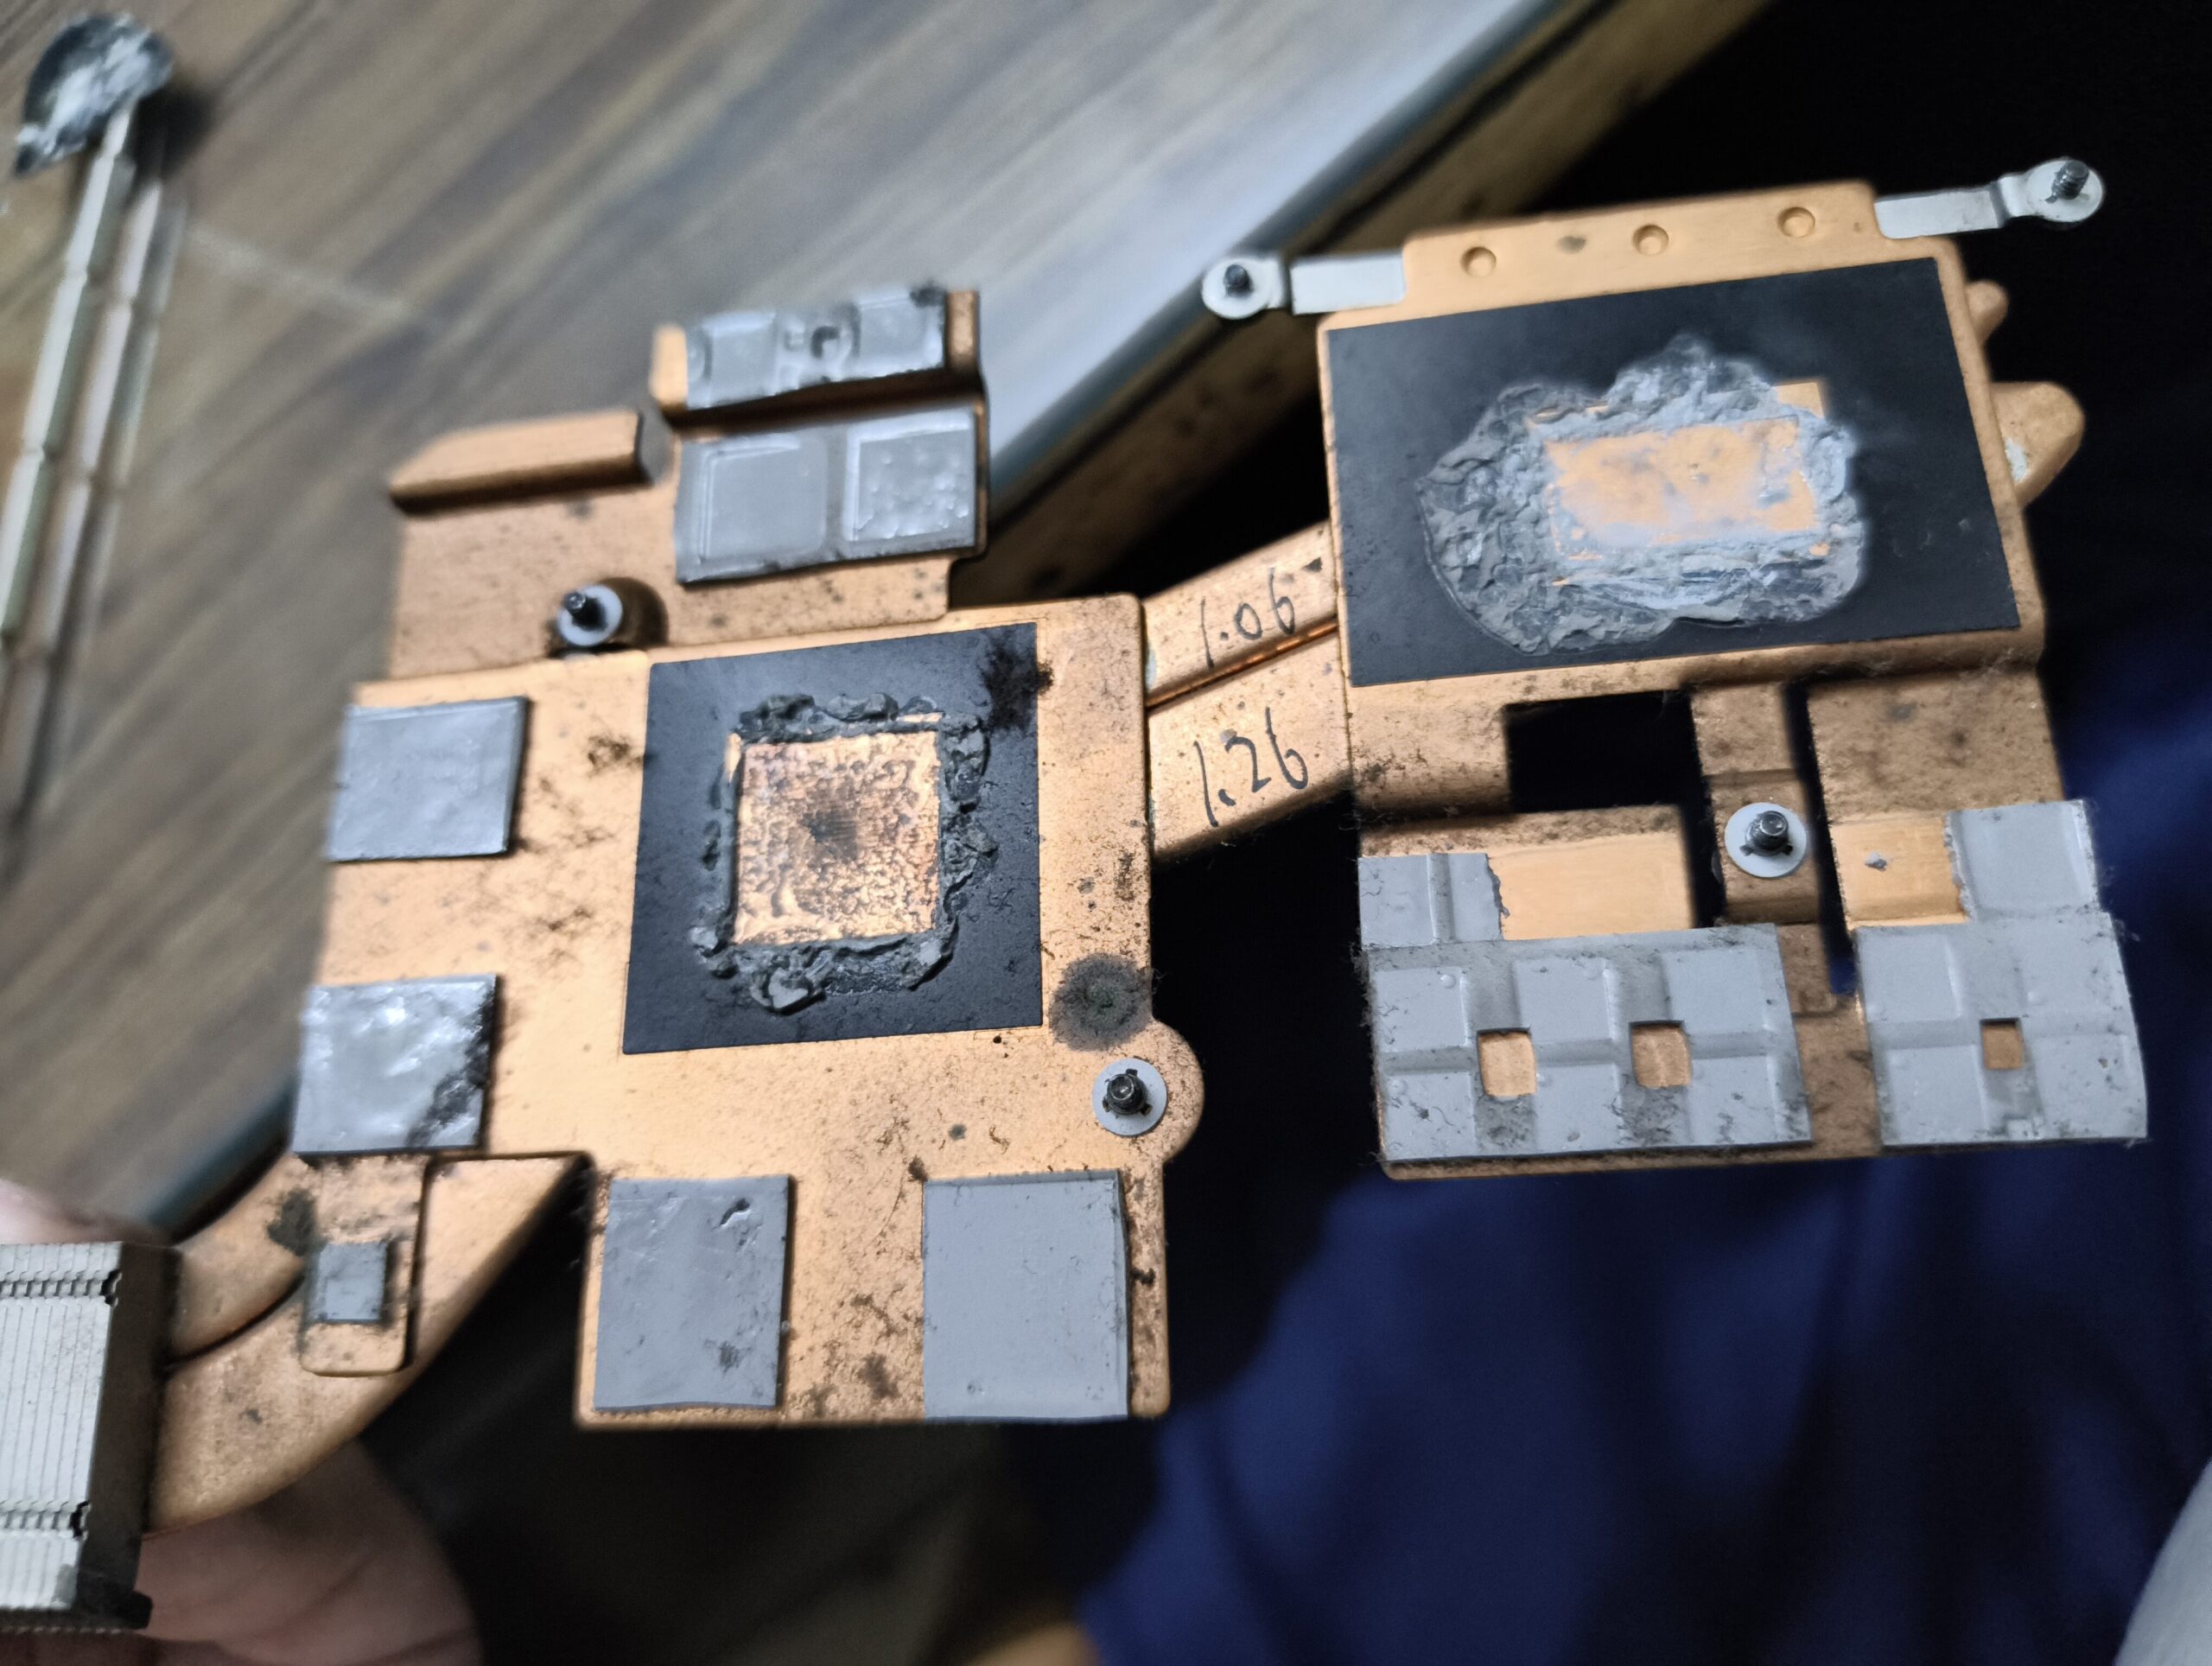
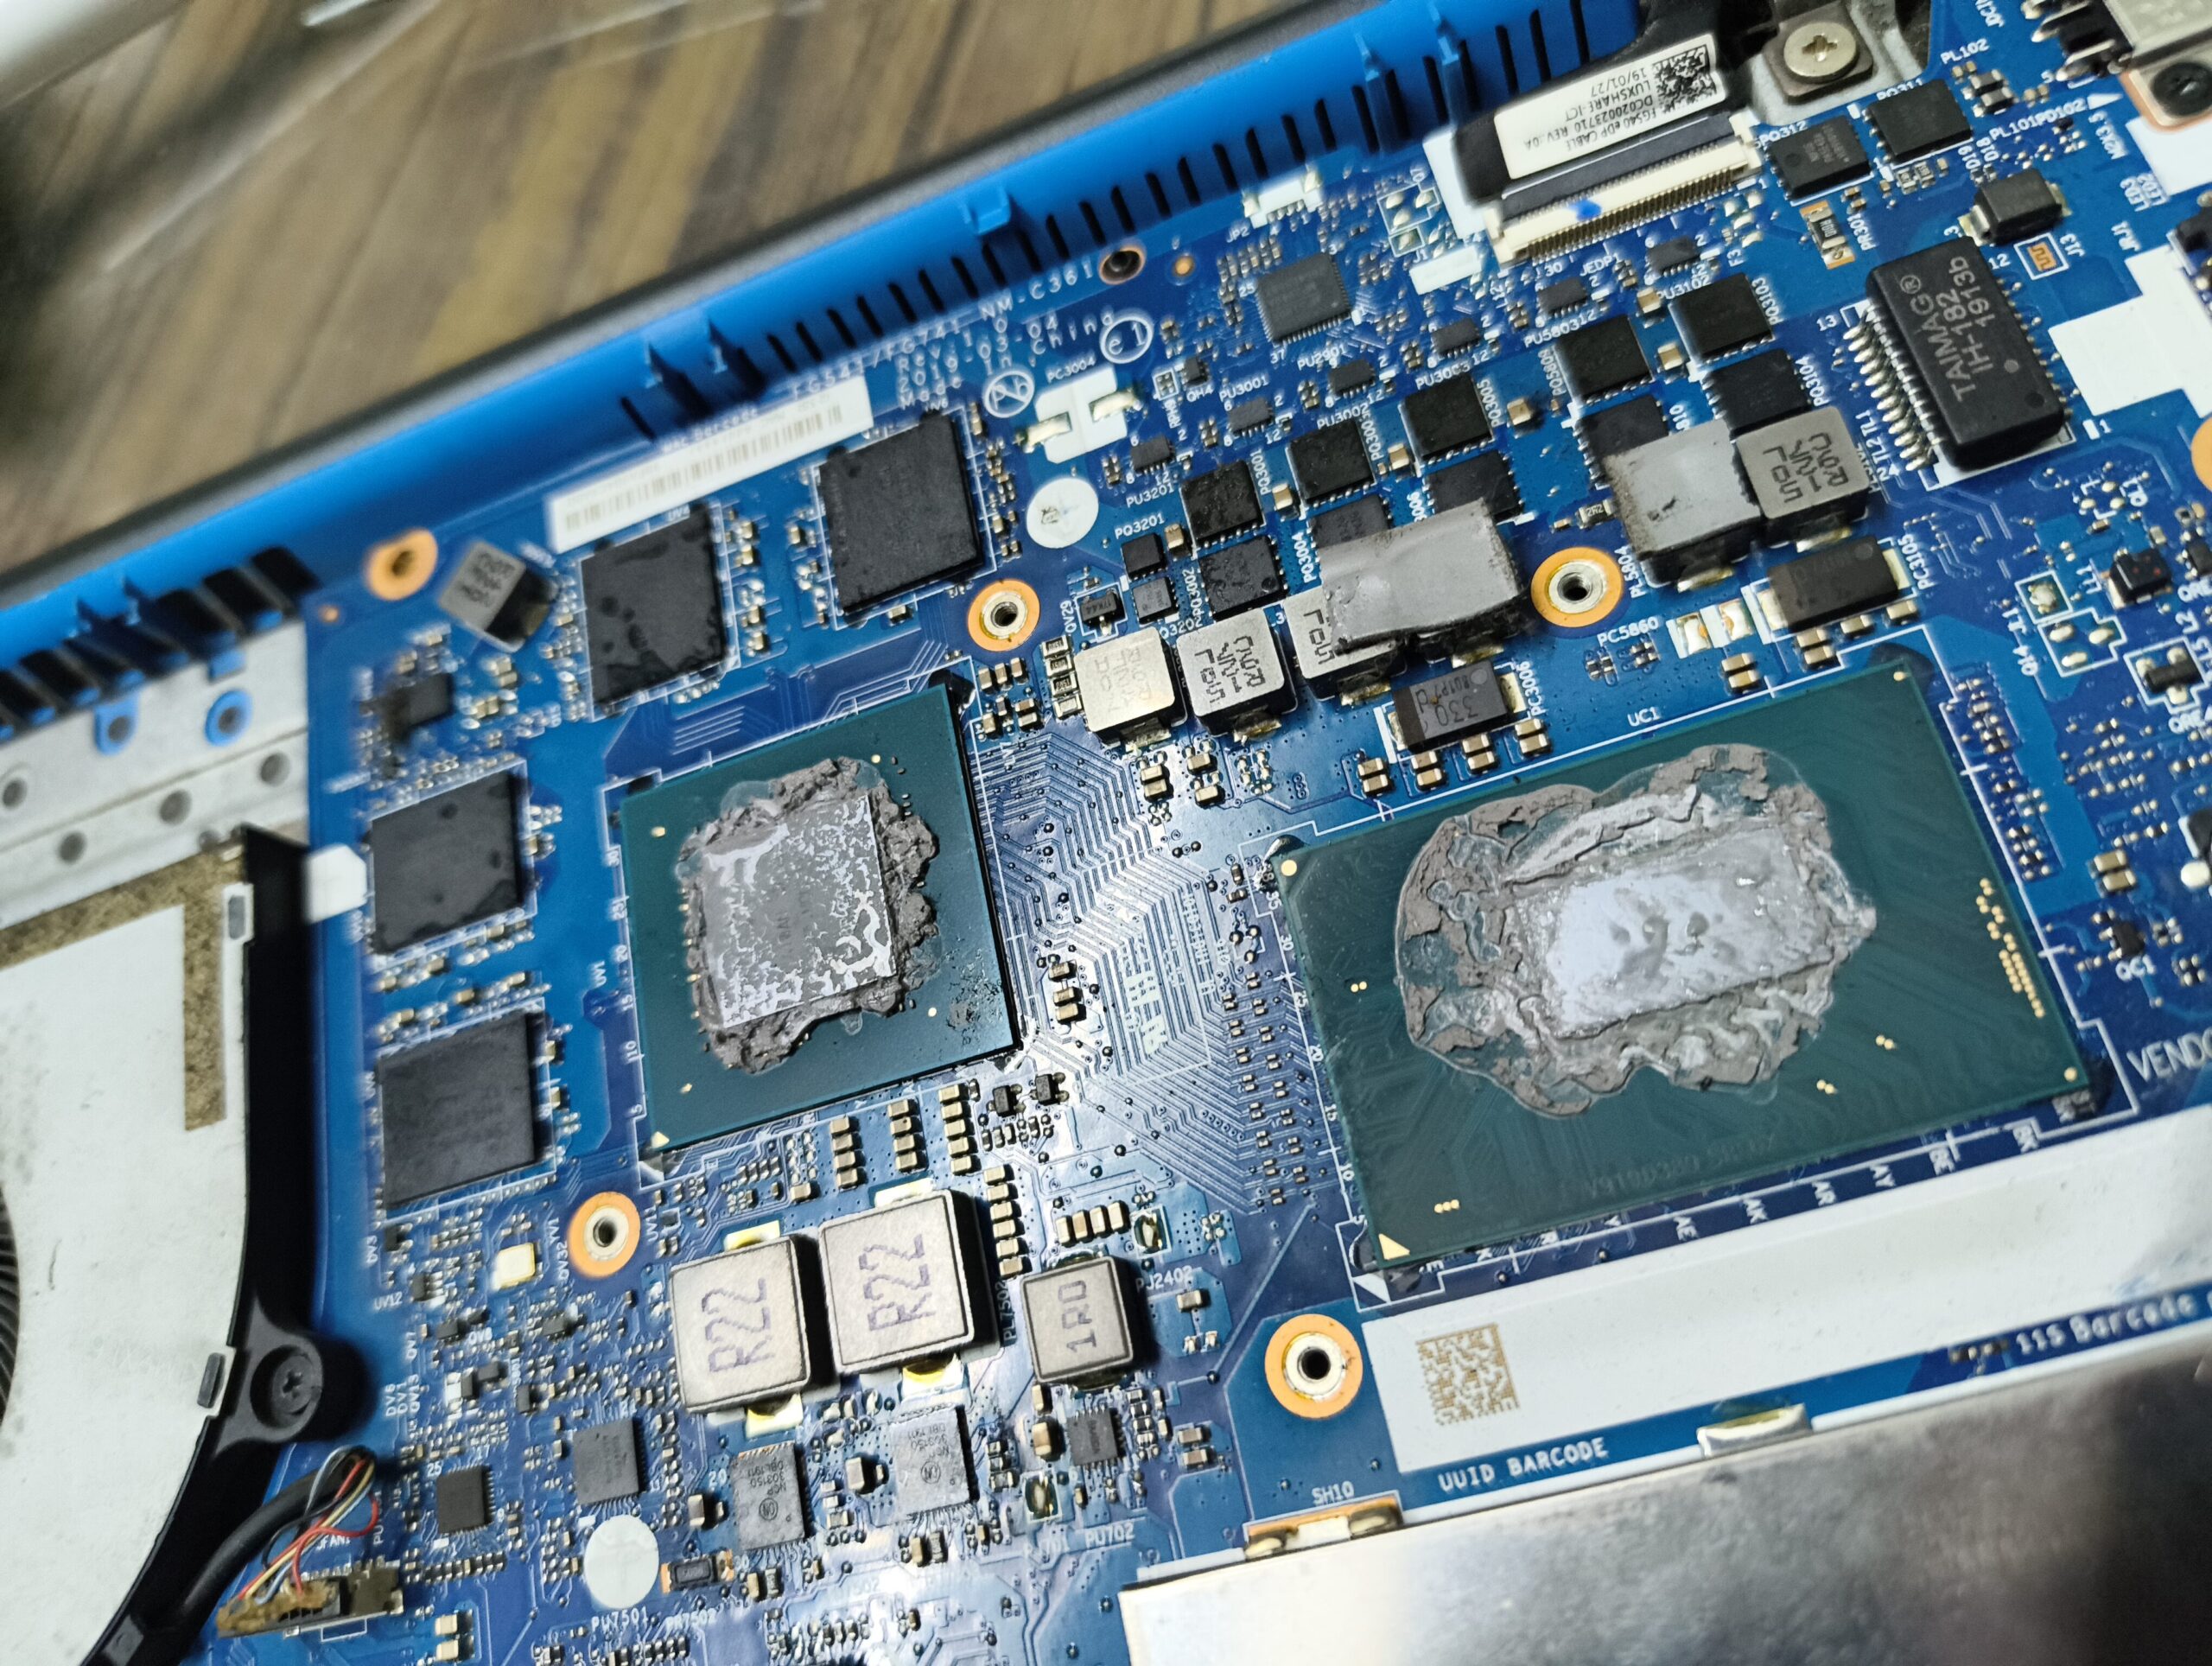
Finally sat down to do a proper thermal repaste last week — after waiting what felt like forever for the PTM7950 and isopropyl alcohol to arrive. The moment I opened it up though… my god. The old paste was so thick and dry it was practically fossilised. Had a full moment of “maybe I’ll just wipe it off” — nope. Had to scrape. Proper scraping. Not the start you want.
─────────────────────────────────
Chapter 1 — 2 Hours on a Single Stripped Screw
─────────────────────────────────
Before any paste action, there was a screw. One single stripped screw sitting between me and the internals, not budging. Tried everything I had — every bit, every angle, every trick I could find online. Two hours. Nothing moved.
That’s where Vijesh bhai stepped in. He assessed the situation in minutes and carved a fresh minus-shaped groove into the screw head. Pulled it out clean. Just like that.
That’s the kind of hands-on knowledge you genuinely can’t Google. Felt stupid and relieved at the same time.
─────────────────────────────────
Chapter 2 — PTM7950 Nearly Broke Me on the GPU Side
─────────────────────────────────
CPU application? Went fine, felt great.
GPU? The PTM7950 phase-change pad flatly refused to stick to the heatsink. Not once. Not twice. Five to six failed attempts — lifting, misaligning, not bonding at all. At some point I genuinely questioned the whole project.
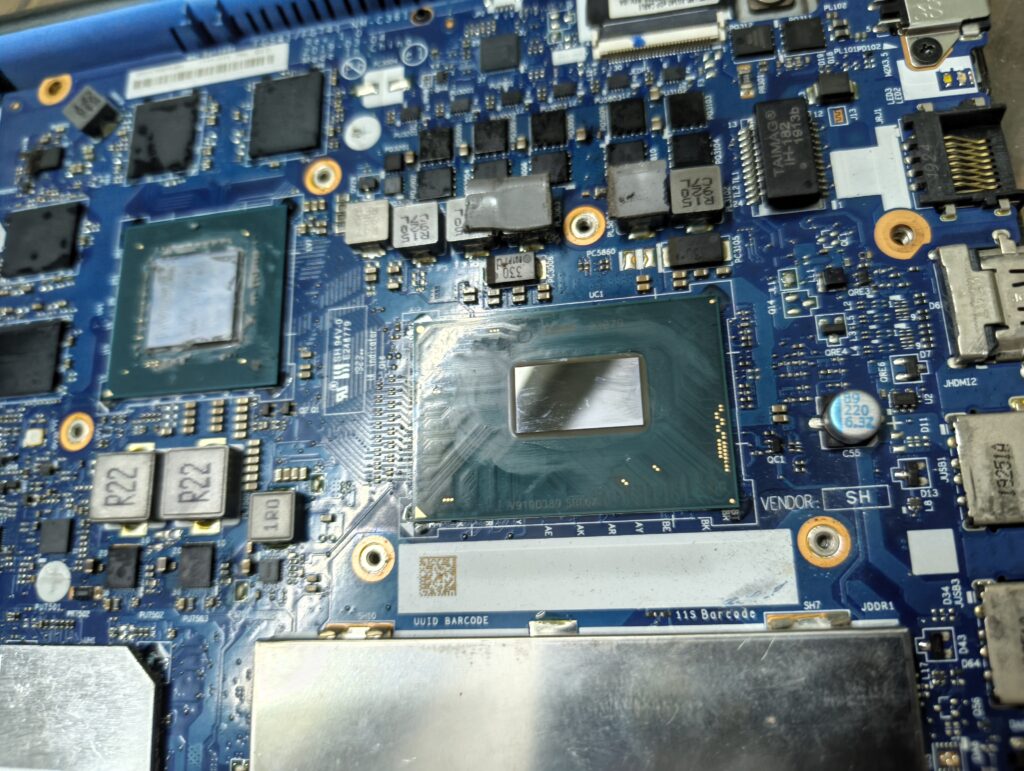
Sent the pad to the freezer out of frustration. Stepped away. Came back, tried a completely different approach — applied directly onto the GPU die instead of the heatsink. Peeled the thin protective covers off carefully with minimal distortion. Reassembled slowly. Held my breath.
It held.
Total time on this GPU sprint alone — 4 to 5 hours.
─────────────────────────────────
Chapter 3 — Then the Benchmarks Hit
─────────────────────────────────
Reassembled everything. Powered it on. Ran Cinebench. Ran a GPU stress test.
Numbers came back noticeably better than before. And the one metric that actually mattered — no more 93°C+ sitting on top of everything. Temperatures that used to spike and stay spiked were now under control.
That number alone made every scraped layer, every failed attempt, every hour worth it.
─────────────────────────────────
What I’d Tell Anyone Attempting This
─────────────────────────────────
- Have a stripped screw plan before you start. A screw extractor or rotary tool is not optional — it’s insurance.
- PTM7950 on the GPU is not plug-and-play. If it won’t stick to the heatsink, try applying directly to the die. Patience is the whole game here.
- Give yourself more time than you think. What looks like a 2-hour job can turn into a full day real fast.
- Document as you go. Half the value here was learning what not to do — which is honestly the most useful kind of documentation there is.
─────────────────────────────────
Until Next Time!
Best,
Anmoldeep 🙂
Loved how you turned a frustrating moment into something so insightful for others. Your writing carries both clarity and a quiet resilience that really stands out. That spirit of staying curious even when things get tough is what makes this truly special. Proud of you 👏.